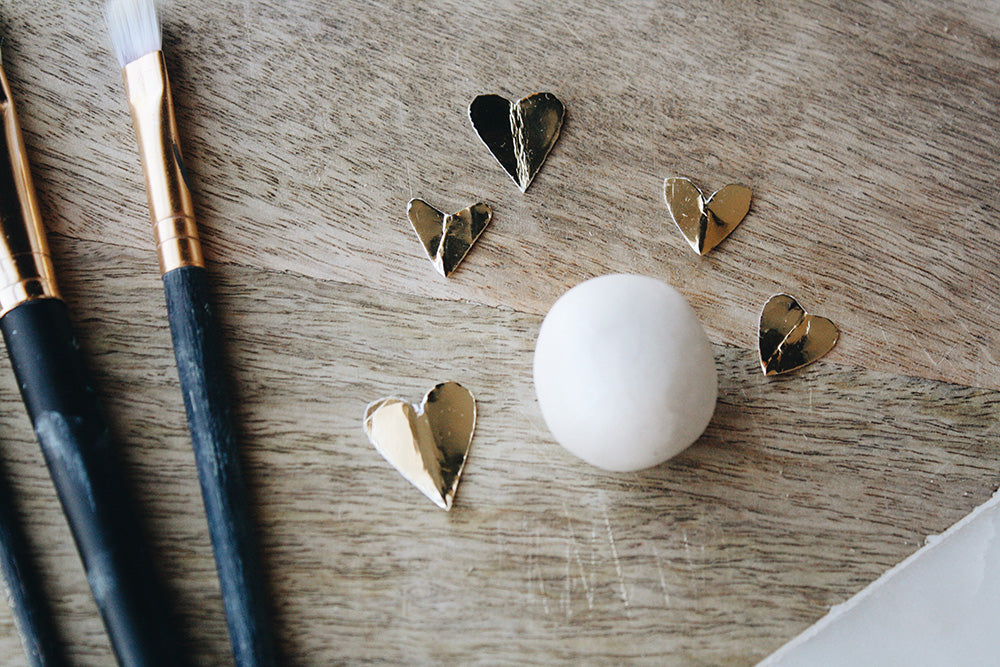
 Start by rolling your clay into a ball. Begin to roll out into a long tube shape. Next, begin to knead the clay until you get it to the cone shape of your liking.


 I decided to make mine a few different sizes to keep it interesting. Once you have formed your cones, stick them in the oven at 300 degrees. Let bake for about 15 minutes.
 Once you have baked the clay cones for 15 minutes. Pull out of the oven and let cool. Now for the fun part, PAINTING TIME! I went with a metallic gold and bronze and a little bit of black here and there. You can get as creative as you like! Feel free to make your cones match your style and paint them using any colors or patterns!

 After painting, let dry for about 10 minutes. Then, go over the finished product with a glossy top coat for protection and a bit of shine!
 There ya have it!
 Shop all rings at Puravidabracelets.com!